Installing Tenax Snow Fence
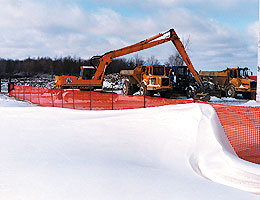
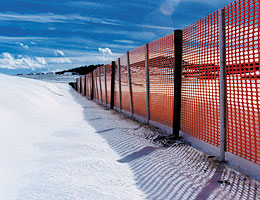
Snow fences create snow drifts and perform as wind breakers. They decrease the velocity of the wind as it strikes the fence and passes through the openings in the fence. This causes the wind to drop the snow on the downside of the fence, where you desire it to go.
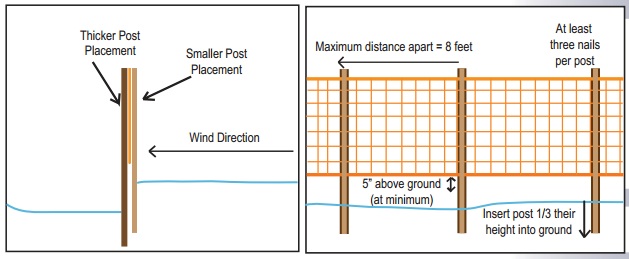
Generally, snow fence should be 12’ upwind of the desired snow drift area. The fence should be sandwiched between two wooden posts, starting at a minimum of 5” above ground. The higher the snow fence is above the ground, the further away the drift will develop. We do not recommend placing your fence higer than 2' above the ground. If the fence is placed directly on the ground, it will be buried in the snow drift.
Controlling a Snow Drift: Installing Your Snow Fence
• Snow fence should be attached on the upwind side of the thicker wooden post so it will blow against the post. Insert the post 1/3 their height into the ground. Place the posts no more than 8’ apart.
• Pull the fence taught and nail the smaller wooden post to the upwind side. This prevents the wind from tearing when the wind whips against the post. Use at least three nails for each post to prevent the fence from slipping up and down the post.
• Plastic cable is an option for additional security. Lace the cable through the apertures in the top and bottom edges of the fence.
• To connect fence sections, overlap the two adjoining ends by at least 6’ and weave through the overlapping ends. Secure ties.
• Tenax snow fence can be left up all year as a wind breaker.
Note: We do not recommend the use of metal posts to secure the plastic snow fence. Wooden posts allow a certain flexibility that is important for breaking wind.